One of the big things of modern smartphones is the ease of doing everything on a single device – and this includes managing your accounts.
Google allows you to quickly choose the Google account you want to use for each application, so that you can easily go from one account to another. In some applications, such as Google Calendar, you will be able to combine all the information in one view, which is a better experience you will have on the desktop.
The process is slightly different if you add a working account, but if you have several personal Google accounts, the process is simple. In this guide, we will perform you in the process for both, you will know exactly how to add another account on Android.
Tools and requirements
You don’t need a lot to add another Android account. As you can expect, you will need:
- Android phone or tablet
- Account name and password
You can add additional accounts to a Android phone or tablet, but note that this will not synchronize on your Android devices, you will only have access to this account to which you added it.
Quick steps to add another account to Android
This is the best way to add another account to Android. Because Android can be personalized, part of the tongue can be different, but the process is the same.
- Open the Settings application.
- Select “Password, Passkeys and Accounts”. If this is not displayed, try “accounts and backups”, “manage accounts” or “users and accounts”.
- At the bottom of the account list, press the option to “add the account”.
- Select the account type you want to add.
- Follow the instructions on the screen.
This process will allow you to add another Google account to your Android device.
Step by step guide to add another account on Android
Let’s take a closer look at the process of adding an account to your Android device. The screens here come from a Google Pixel on Android 15, but all Android devices have a similar process. A wording can be a little different, but I will highlight some of these differences as we get there.
1. Open Settings
(Image: © Future)
The easiest way to find the Settings application On your Android device, it is sliding into the notification area and searching for the parameter icon, which looks like a cog. This will bring you directly to the Settings menu.
Some Android devices have a parameter icon in the application set, some offer the Settings in quick settings. But wherever it is, it leads to the same place, which is the screen of the main phone settings.
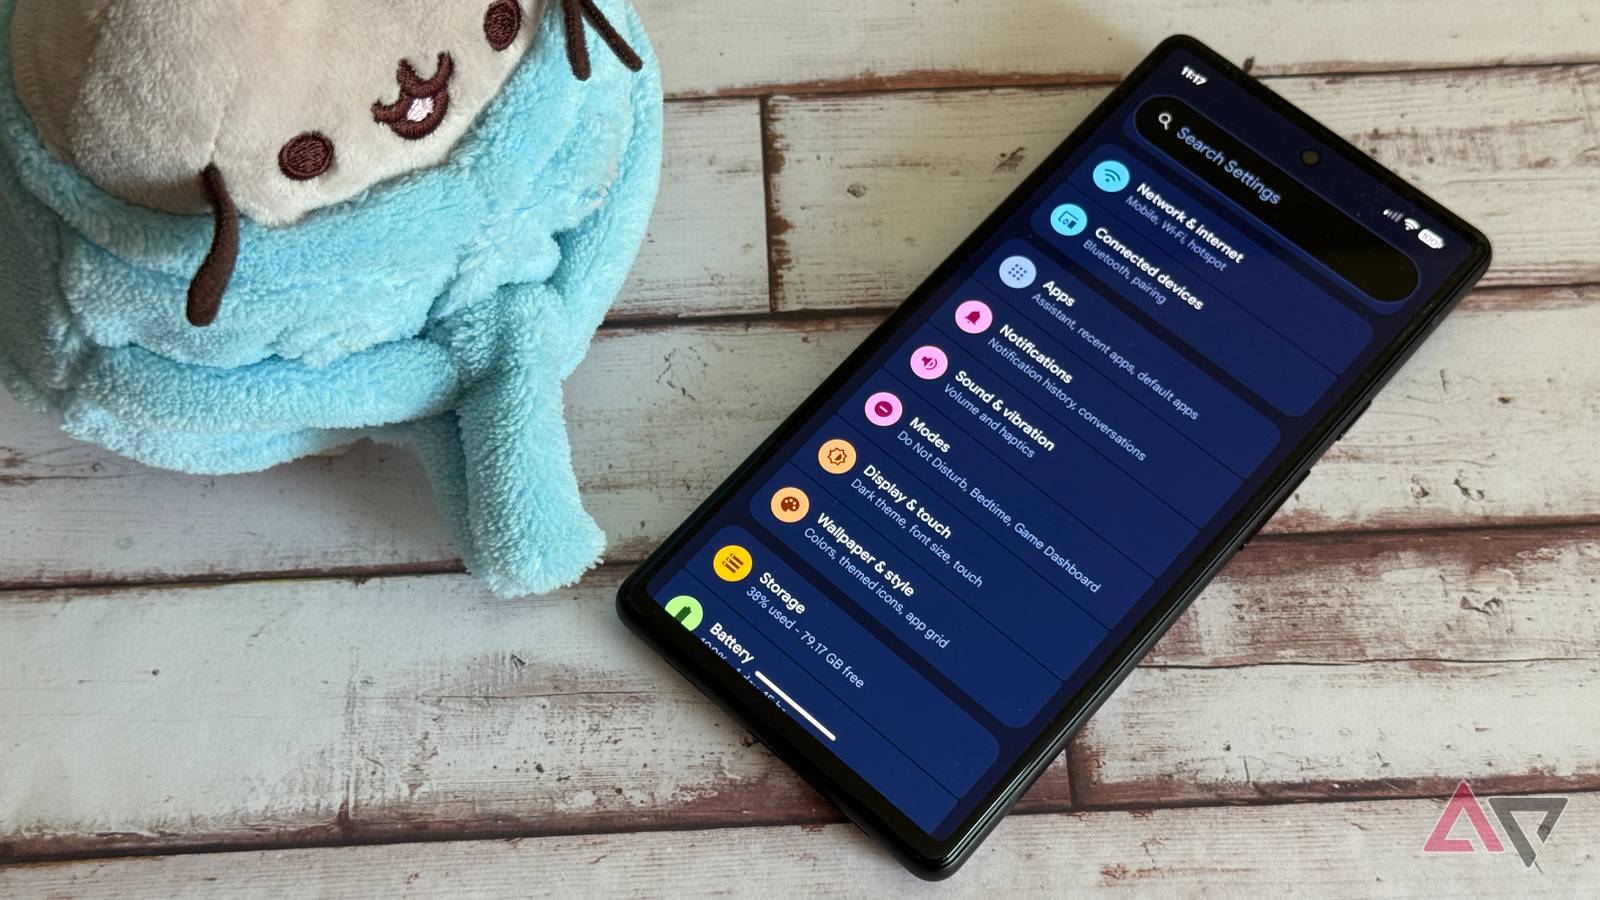
2. Find the account parameters
(Image: © Future)
It will take a little scrolling, but you will find a section of the setting menu which is dedicated to Accounts. We could be called ‘Password, passkeys and accounts‘(Pixel, Motorola), or it could be called’Users and accounts‘ (Honor). If you have a Samsung phone, you will have to go to ‘Accounts and backup“And then from there to” manage the accounts “.
Note that some telephone brands can offer means to connect to your own account. Xiaomi – Use of hyper OS for example – puts Xiaomi account in the main menu, with third -party accounts under ‘Additional parameters‘ SO ‘Accounts and synchronization‘.
3. Open the account zone
(Image: © Future)
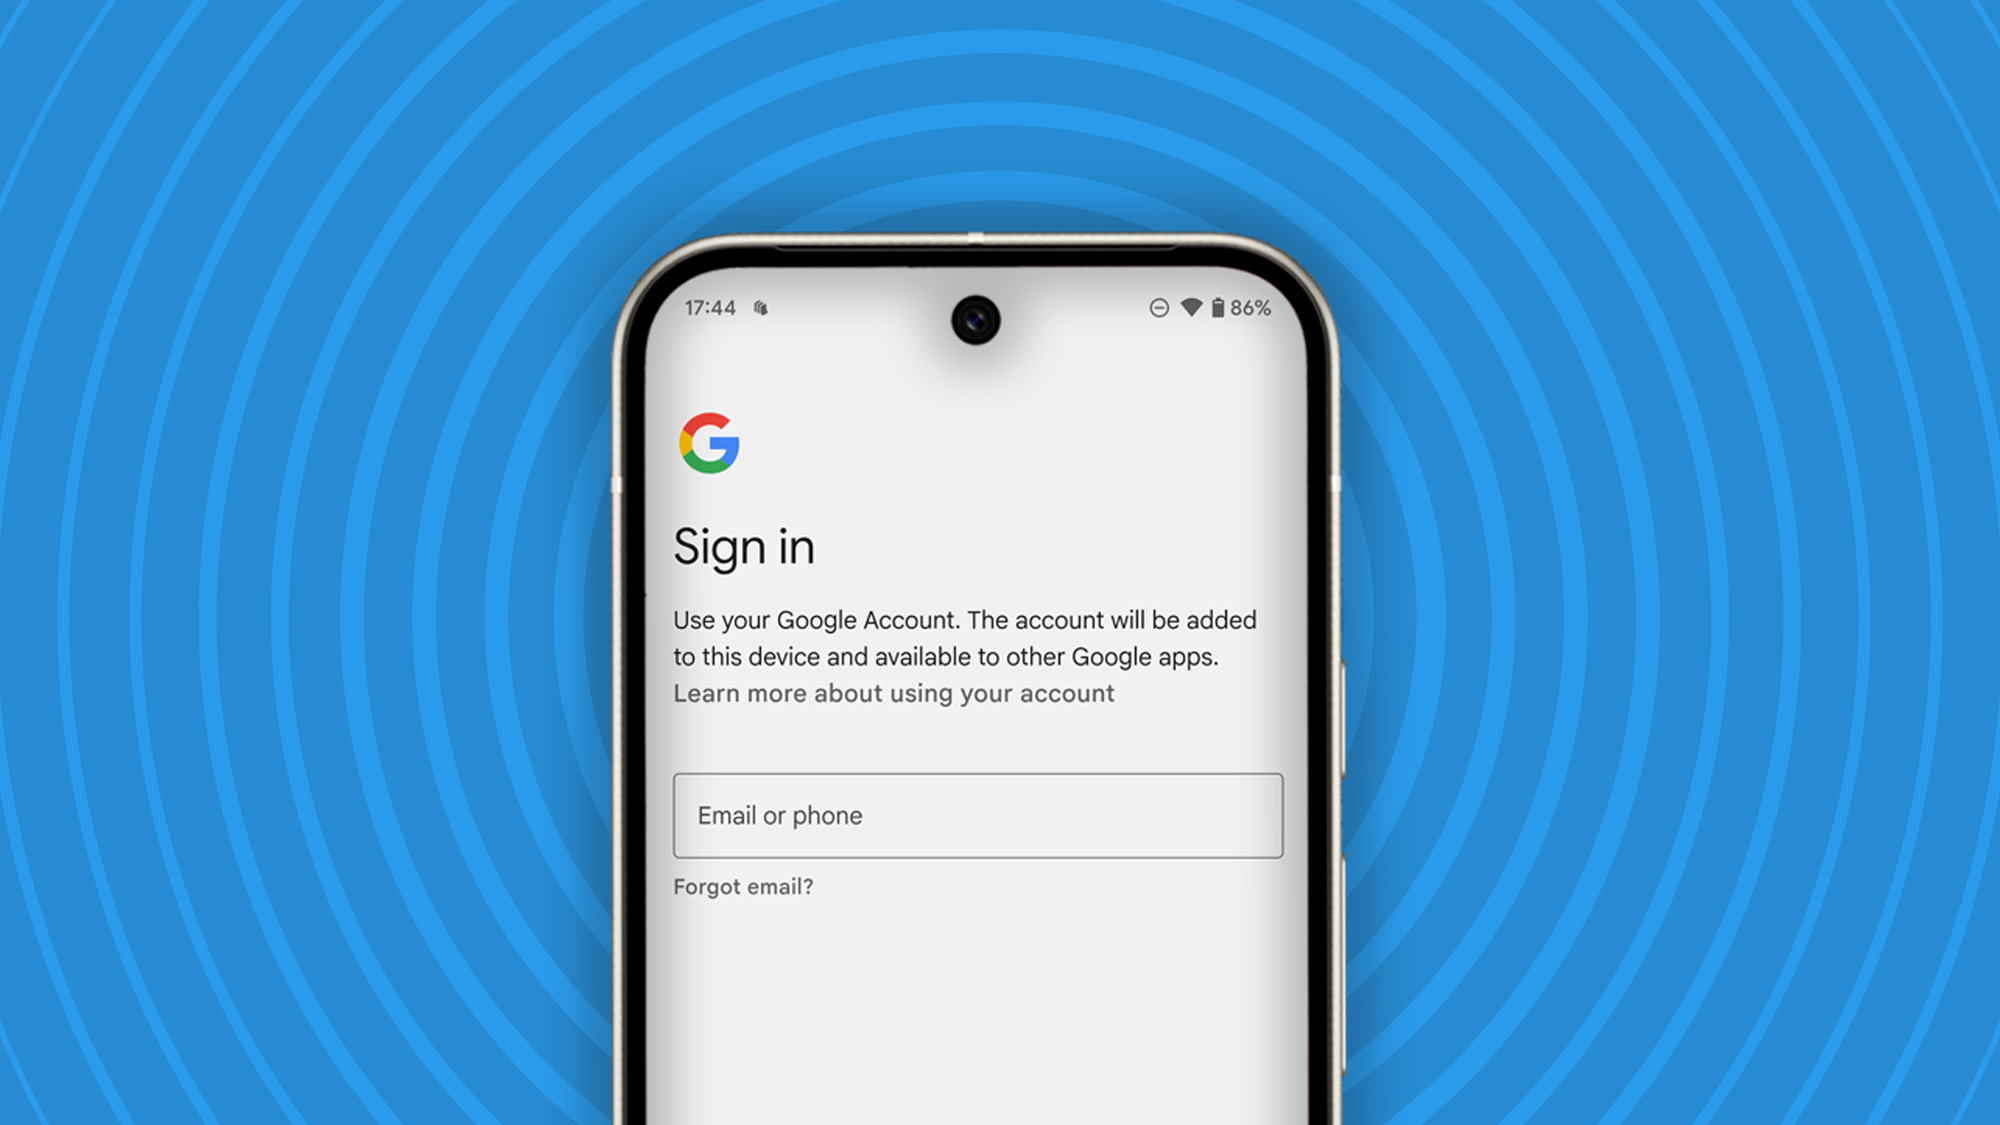
This step is simple as long as you are in the right place after the step above. You should find a list of accounts already on your phone and at the bottom of the list, you will see the option of Add an account. Press this and you will be invited to the type of account you want to add.
Most people will want Add a Google accountGiving access to emails, contacts, photos and all the rest of a Google account. You will normally see the exchange options, Google, Meet, IMAP and POP3 also.
If you have already connected other accounts on your phone, you can find this area lists other accounts, such as Facebook, Garmin, Microsoft, etc. These accounts come from their corresponding applications. Although we can be presented to the possibility of adding these accounts, in most cases, you will not be able to.
4. Add the details of your new account
(Image: © Future)
Once you have selected the account type you want to add, you will be invited via screen instructions to enter your Account username then password. In most cases, for a Google account, it will be your email address, then your password.
At this point, you will also be guided through all the additional security steps associated with this account. For example, if you have activated two -factor authentication, you will be invited to provide appropriate verification.
It is also at this stage that Google Workspace The accounts will be identified. If you add a work account managed by your employer, you will be taken by the necessary steps. This may include adding a password to your device, adding additional applications and other safety steps.
If you add a workspace account, you will often see that your Android device then offers two areas called “personal” and “work”. This will divide the application tray for example, and it will also offer separate access to applications that use the two accounts. For example, your personal calendar and your work calendar will not be mixed, you will have to switch to each other.
Troubleshooting
I can’t connect to my account
The first thing to check is that you enter the username and the correct password for your account. This is probably the source of the problem.
If you have the correct details, check that you have an internet connection to check this identification information. Check that Google Services synchronizes on your phone to make sure Google servers work.
Try to update your device. If you have an older device, the transition to updated software could avoid any potential problem from older software.
If there is no updates, try to restart your phone and continue the process.
I can’t check my account
Google offers a range of safety features to protect your account. When you connect to an account on a new device, you will get alerts on existing devices, which could take the form of a notification and an e-mail. In some cases, you will be asked to check your account on an existing device in which the account is signed.
If you have more advanced security, it may be requested to check using an or using another authentication method. It’s a limited time, so make sure you have the other device to be put back if you need this additional verification.