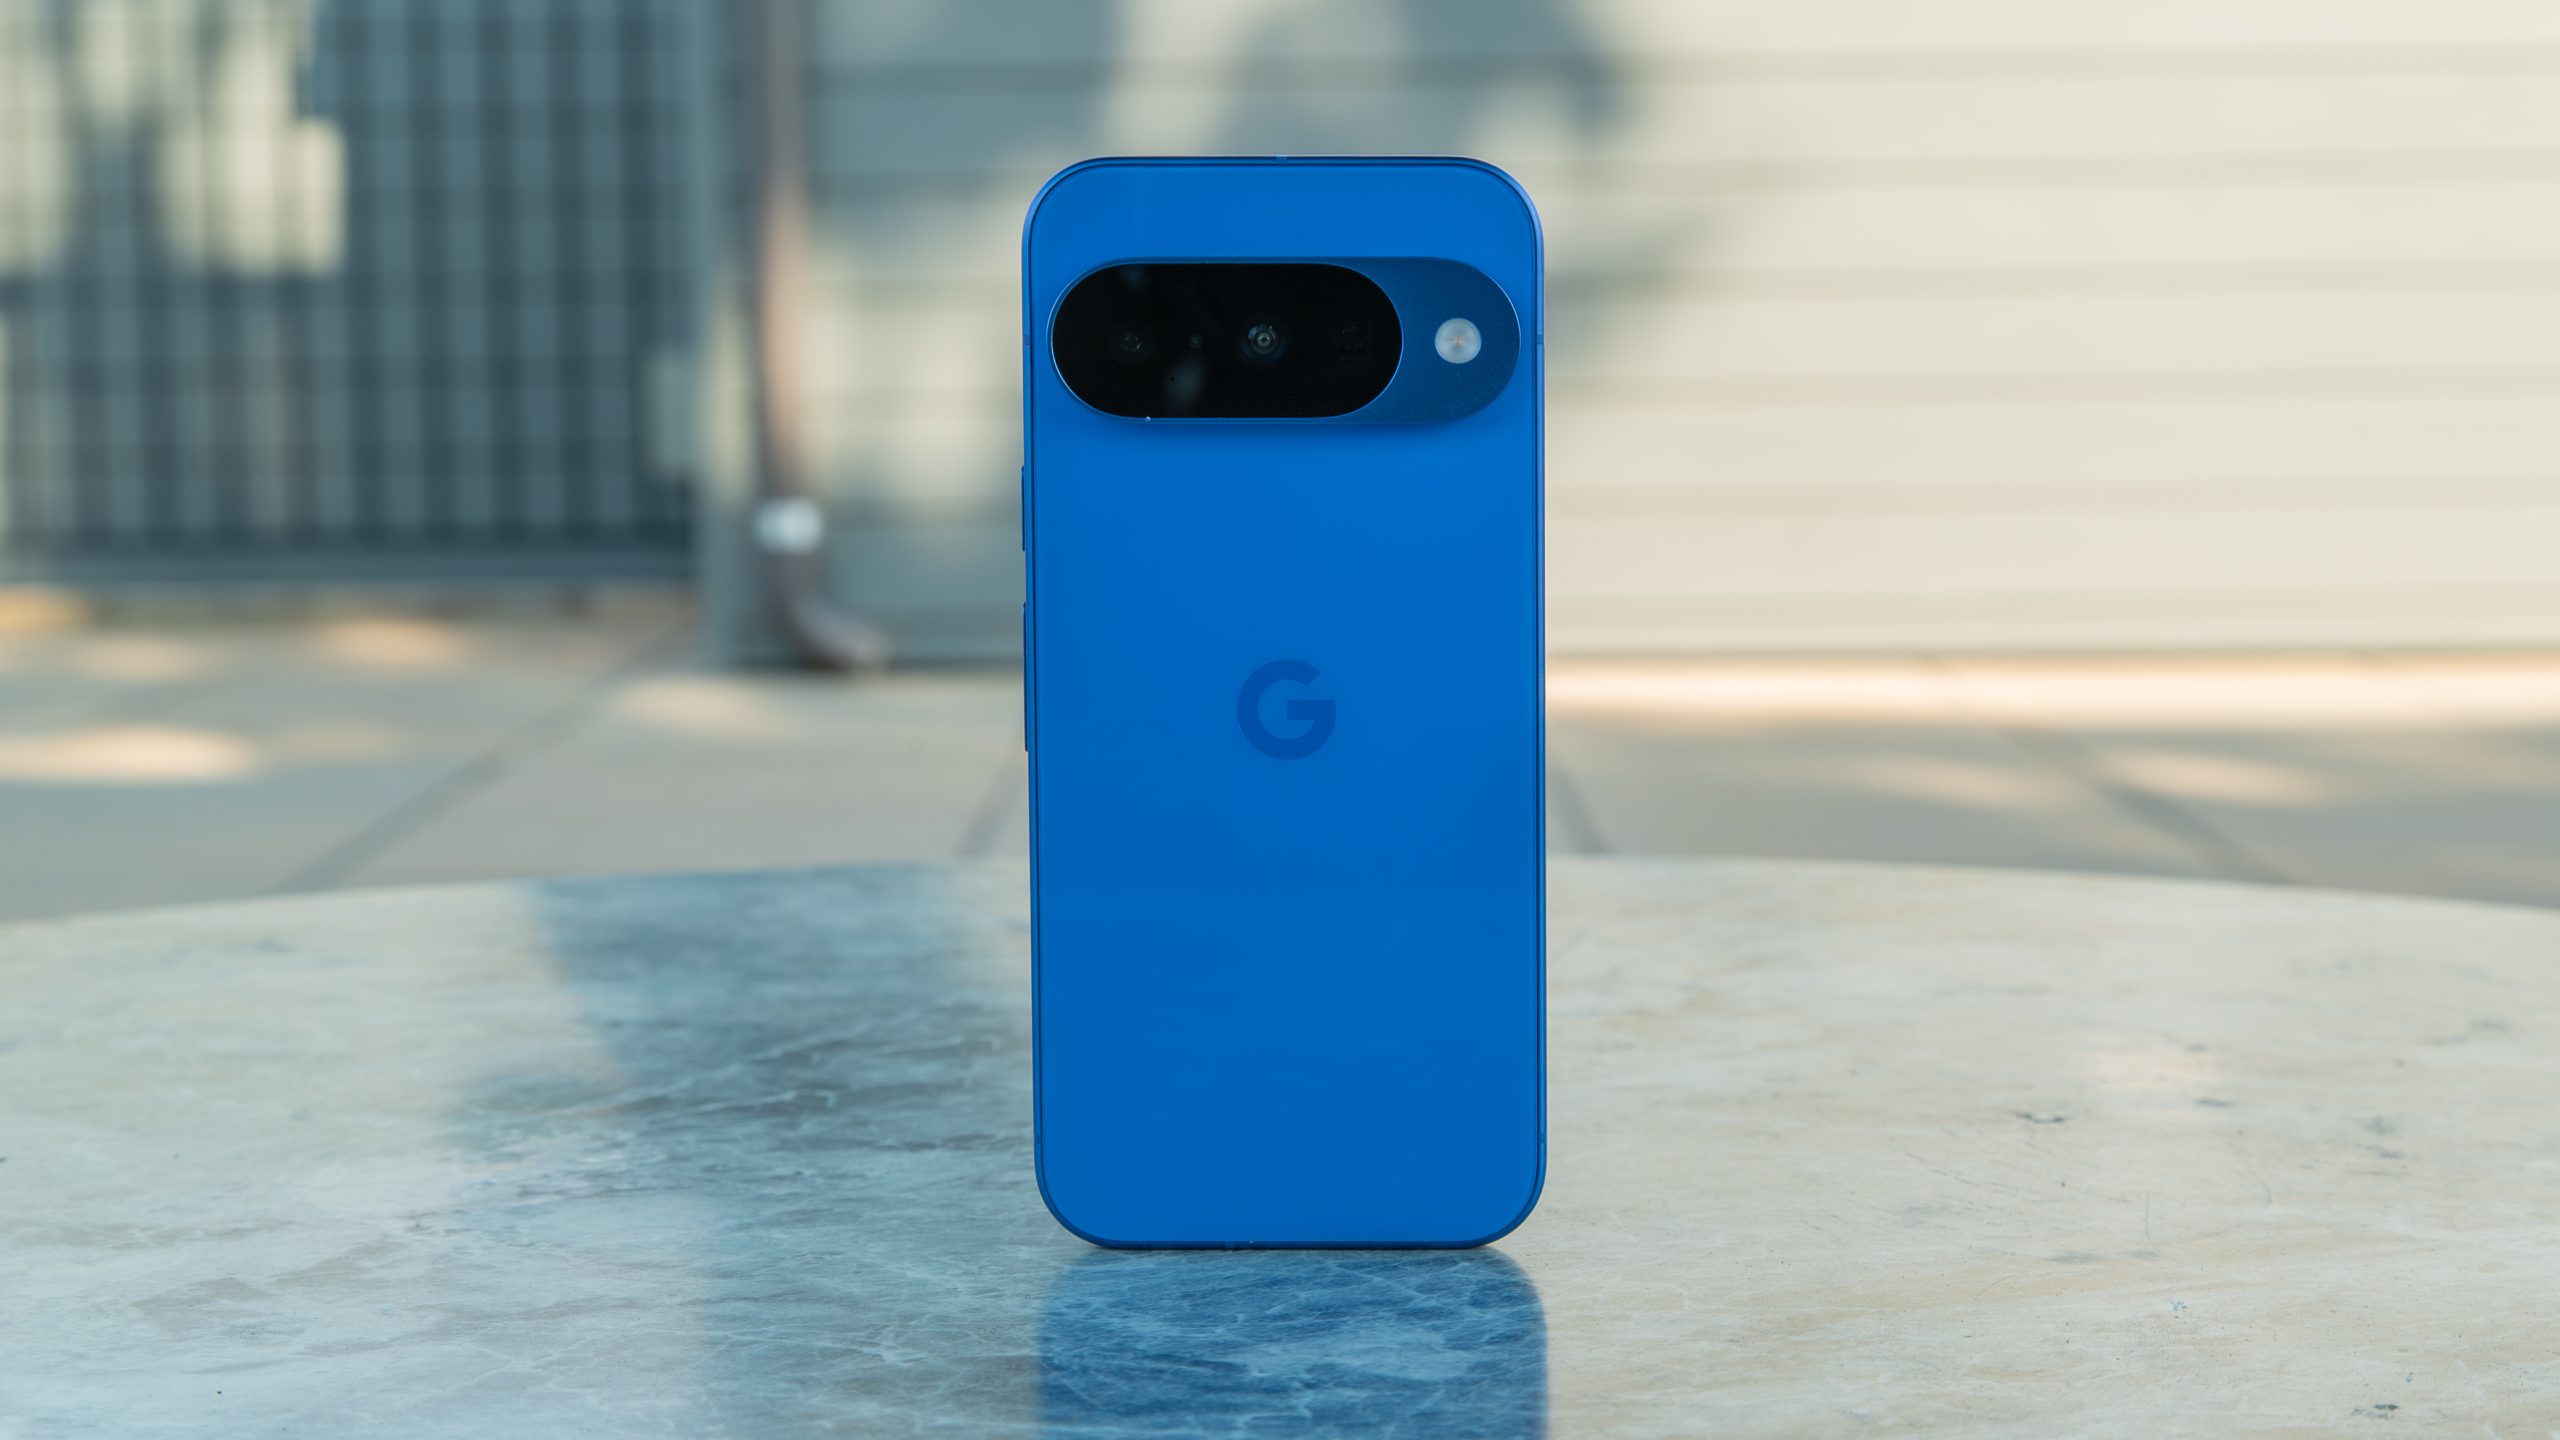
So you got your hands on a new Pixel 10 smartphone. They’re great phones, and there’s a lot of cool new features to check out, which can make things a little overwhelming. After all, setting up your new Android phone only gets you through so much, even though it often feels like it takes forever to move accounts, transfer data, and set up your eSIM.
Fortunately, we’re here to help you get the most out of your Pixel 10 or Pixel 10 Pro. With this guide, we’re going to talk about some of the first things you should set up or do with your new Pixel 10 or Pixel 10 Pro. Keep in mind that some features may be exclusive to the Pro model, which we’ll note where appropriate.
Spruce up your wallpaper with Live Effect
Here you can select a photo from your gallery to set as a wallpaper. After you choose an image, you’re taken to an Effects page, where you can select how the wallpaper will be styled.
You have three main effects to choose from: Shape, Weather, and Cinematic.
With Shape, five shapes surround the main subject of the photo, and five adjustable colors fill the rest of the display. The shape will expand to reveal the full image when transitioning from the lock screen to the home screen. Weather creates an artificial weather effect in your image, including fog, rain, snow, sun, or an option that mimics local weather conditions. Lastly, Cinematic will apply a parallax effect to the subject of your photo, making it really stand out on your display.
Set up your screen saver
Screensavers often feel redundant on Android, especially when you have an Always-on Display (AOD). However, you can find a selection of nice screen saver configurations on the Pixel 10, which can make your display act as a slideshow for your photos or show useful information while your phone is charging.
Navigate to Settings > Display & touch > Screen saver. First, toggle the feature on, then tap When to show to decide if you want the screen saver to appear solely when charging or when the phone is charging while upright (such as on the new Pixelsnap Charger with Stand). You can also restrict this feature to wireless charging.
Next, select your screen saver. You can choose from the Everyday Clock, Google Photos, Home Controls, Pilot Bold Clock, and Pixel Weather. Finally, you can toggle on Low light mode to enable a low-light clock when you’re in a dark environment.
Enable Voice Translate for calls
I have a lot of international friends, most of whom speak English. However, some of them don’t, and there’s a bit of a language barrier when I try to speak in their language or they in mine. Fortunately, Google’s Voice Translation feature is quite good and can even project your own voice in a call being translated in real time to another language!
It’s a pretty impressive feature, but you have to first enable it. To do so, open the Phone app and navigate to the burger or three-dot menu at the top. Tap Settings > Voice translate, then toggle the feature on, after which, you’ll have to wait your language to finish downloading (make sure the the Language you speak is set to your native tongue).
The supported languages include: English (US and UK), French, German, Hindi (in preview), Indonesian, Italian, Japanese (in preview), Portuguese (Brazil), Russian, Spanish (Spain), and Swedish.
Voice Translate works on-device, but you should note that it may not always get translations correct. You’ll also get a handy transcript during the call in case you need to see what the other person is saying.
Create your first entry in Pixel Journal
An AI-powered journal may sound a bit odd, but it’s actually one of those nice-to-have features that you may come to appreciate. Not only can it help you get started on entries by pulling up recent photos, locations, and fitness data, but when you’re done with an entry, it will provide an AI-generated “Reflection” to help you think a little more deeply about the experience you just described.
Open the Pixel Journal app, and you’ll be asked to set your journaling goals. Then, you can connect Google Photos and Health Connect to allow additional customization. Finally, once you set a lock for your Journal, you can start writing your first entry, which you’ll find in the Entries tab.
Pixel Journal lets you change fonts, add images and edit the layout, and more. Once you’re done, you’ll likely receive an AI Reflection, or if not, you may have to enable AI features, which you can do in the settings. You can also navigate to the Insights tab, where you’ll find a week or month view of your journal entries.
We suggest you tap your Google account thumbnail at the top then navigate to Journal settings. Here, you’ll be able to Back up your journal and enable AI features (which may take some time to install/load).
Set up Magic Cue for contextual suggestions
Magic Cue is a highlight Pixel 10 feature that uses AI to provide contextual suggestions within your apps. This uses on-device processing to pull up information and actions like contacts, locations, events, and more, based on what you’re doing, who you’re calling, or the conversations you’re having.
Navigate to Settings > Magic Cue and enable the various toggles after reading through the descriptions of each toggle. Scroll down and tap the option to Use data from specific apps. Here you can select which app data you want Magic Cue to work with. For now, it supports Pixel Screenshots, Gmail, Google Messages, Keep, Contacts, and Calendar.
Finally, after toggling the various Magic Cue options, scroll to the bottom and ensure that Magic Cue is up to date.
You can try it by texting a friend and asking about the data of an event or planning something like a meetup. Magic Cue may pop up with a Create event pill that will send you straight to the Calendar app with the details of the event you were discussing. Other examples include pulling up flight details when calling a related airline (you can also manually pull up Magic Cue while on call).
Magic Cue won’t be too consistent when you first use the Pixel 10, but it may become more useful over time with more data.
Turn on Daily Hub to keep you up to date
Daily Hub is another place where the Pixel 10 tries to get ahead of you by highlighting upcoming events, weather, YouTube recommendations, and suggested topics for you to dive into based on your interests.
You can enable Daily Hub by navigating to Settings > System > Daily Hub. Toggle it on, then from your home screen, swipe to the right to access the Discover feed. Here, you’ll find Daily Hub at the top left of your screen.
Try Camera Coach for photography tips
Open the camera app and tap the sparkly camera icon at the top right of the viewfinder. Camera Coach will turn on and automatically examine your scene to suggest shots for you. You can either rescan or select any of the suggestions, which will relate to whatever the camera sees.
Once you select a scene, the app will take a few seconds to prepare steps, and then walk you through how to take the optimal photo. Follow each step, and at the end, it will prompt you to capture the photo, or you can start back from the beginning.
Zoom in all the way
If you picked up a Pixel 10 Pro, Pixel 10 Pro XL, or are planning to get a Pixel 10 Pro Fold in the future, Google’s new Pro Res Zoom is a new camera feature you’ve got to check out. In a nutshell, it uses a specially-trained AI located in the Pixel 10’s Tensor processor to enhance extremely zoomed-in photos. This effect can only be applied while taking a picture, not after the fact, so it’s important to enable it if you want to use it.
The first time you open the camera app, your Pixel will ask you if you want to enable Pro Res Zoom, as well as a bevy of other new features. But if you turned it off or aren’t sure, enabling it is easy.
Open the camera app, tap the settings gear icon on the bottom-left of the viewfinder, then tap the “…” button on the top right. When the camera settings menu opens, tap Model download, then select Pro Res Zoom from the list to download the AI model to your phone.
Now that it’s enabled, using Pro Res Zoom is as easy as it gets. When taking a picture of something, Pro Res Zoom will be automatically used whenever you zoom in beyond 30x. The further you zoom, the more reliant on Pro Res Zoom your phone might be. Pro Res Zoom works best on buildings, landscapes, natural objects like birds or plants, and even some man-made objects like cars.
Just be aware that the AI is a little overconfident when it comes to text, which you can read more about in our Pixel 10 camera review. If you don’t like the result you get from Pro Res Zoom, you can always select the original version by navigating to the photo in the Google Photos app, opening the photo, then tapping on the thumbnails at the bottom to swap between the original and enhanced versions.
Go ahead, have fun with this feature! It’s hit-or-miss, but when it does nail the detail enhancement, it’s a mind-blowing concept.
Edit with Ask Photos
Another unique way to utilize your Pixel 10’s AI processing capabilities is to ask the Photos app to edit a photo for you. Contrary to what some people might think, the Gemini-powered AI experience here isn’t editing a photo for you in the way a human might edit a photo in Photoshop.
Instead, Gemini is used as a way to “search” for Google Photos features via more natural language, then automatically apply those features to a photo. In the above example, I asked the Google Photos app to remove the glare from the image. The result was incredible, and it was easier than ever since I didn’t have to scroll through a bunch of settings just to find the one I wanted.
To get started, open the Google Photos app, then find a photo you want to edit. After opening the photo, tap the Edit button at the bottom of the screen. Once the edit menu appears, tap the Help me edit bar. Either type your request when the keyboard appears, or tap the microphone button to speak your request. Alternatively, you can select one of the suggested actions that appear on the screen after flicking the Help me edit bar.
Display adjustments
Google Pixel phones are renowned for their color accuracy and brightness, but did you know that you can adjust a lot of these options? The Pixel 10 series offers numerous display options, allowing you to customize settings such as reducing blue light output, adjusting the color according to ambient lighting, dimming the display, and even adjusting the PWM frequency for sensitive users.
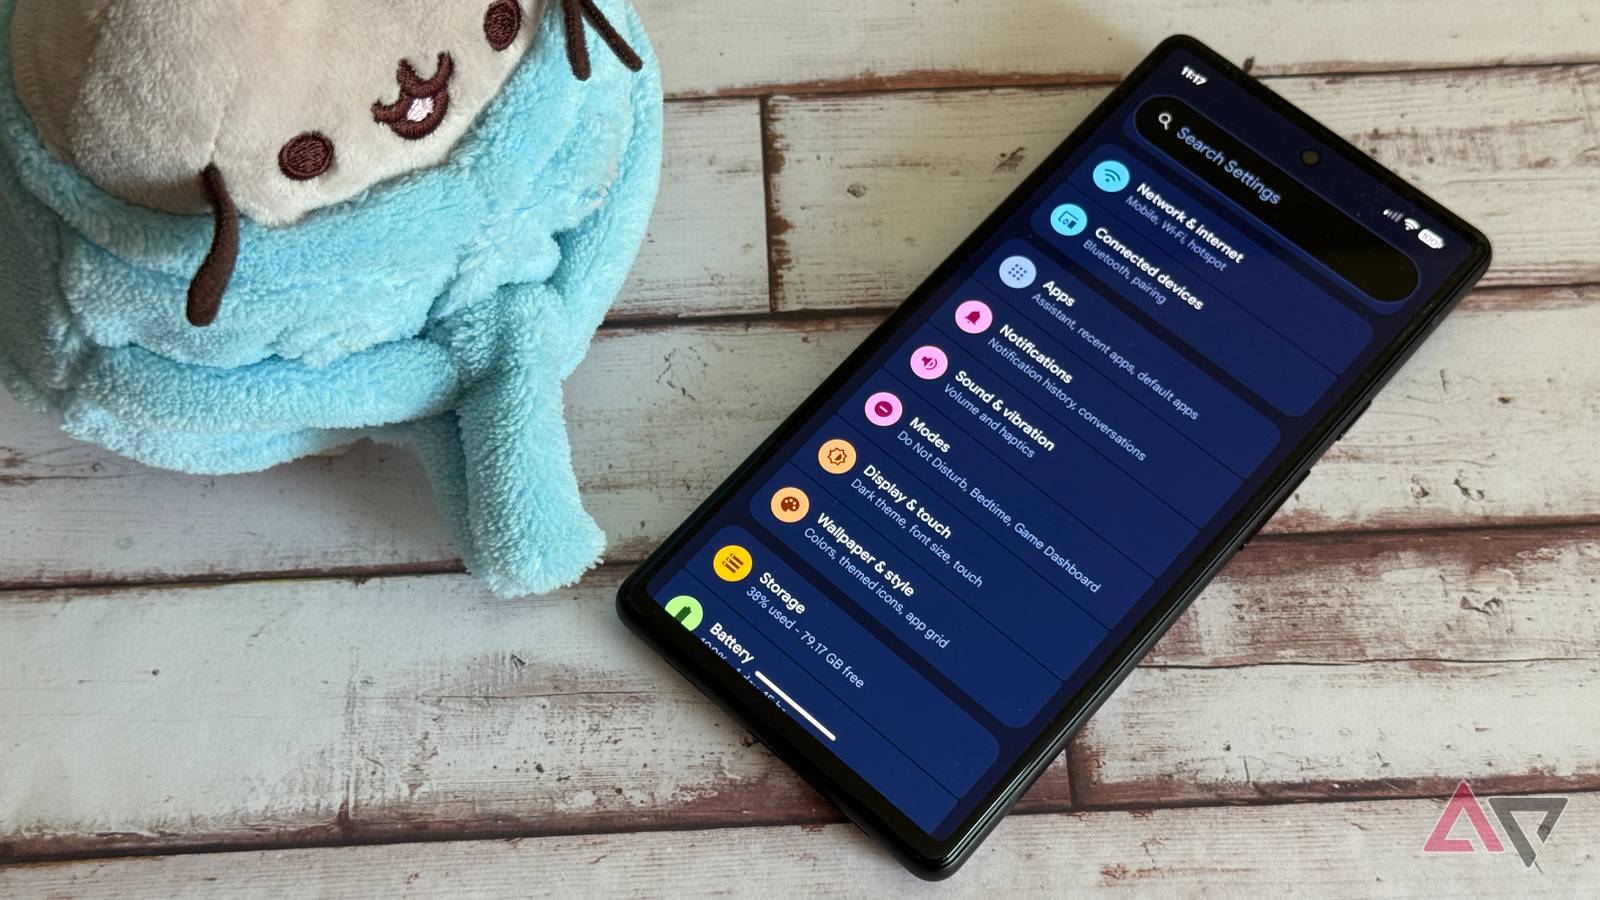
To find most display options, open your system settings by tapping Settings in the app drawer, or pulling down on the status bar twice and tapping the settings gear icon. After that, tap Display & touch. Give these settings a try:
- Adaptive tone: Automatically adjusts the display’s white balance to feel more natural based on ambient light.
- Night Light: Can be used to reduce the blue light output of the display all the time, or put on a schedule to be enabled at night.
- Colors: If you prefer less saturated colors and more natural contrast, select the Natural option.
- Color contrast: Material 3 is a beautiful UI theme, but sometimes those lighter buttons are hard to see. Try using Medium or High contrast colors to help adjust these.
If you’re like me and find that Pixel phones gives you headaches when looking at the screen too long, Google introduced a new accessibility option on the Pixel 10 Pro and Pixel 10 Pro XL. This doubles the PWM dimming rate, which may be helpful for some users.
If you find headaches to be a problem, particularly when you’re looking at the phone at night, open your system settings, then scroll all the way down to Accessibility. Select the “Adjust brightness for sensitive eyes” setting to enable the new feature.
Additionally, I recommend using a screen dimming app like this one. It’s a free app that manages your phone’s display brightness differently from the system brightness. This helps reduce the harshness of the display, particularly when viewing it in low light, and is a great alternative for sensitive eyes.


